Get started with Wigmorean.
Four steps to activate your license and have your first products running on your WordPress site.
Download and install Wigmorean Connect
Wigmorean Connect is the single plugin that brings every Wigmorean product into your site. Download the latest build and install it like any other WordPress plugin — from Plugins → Add New → Upload Plugin in your admin.
Download Wigmorean Connect →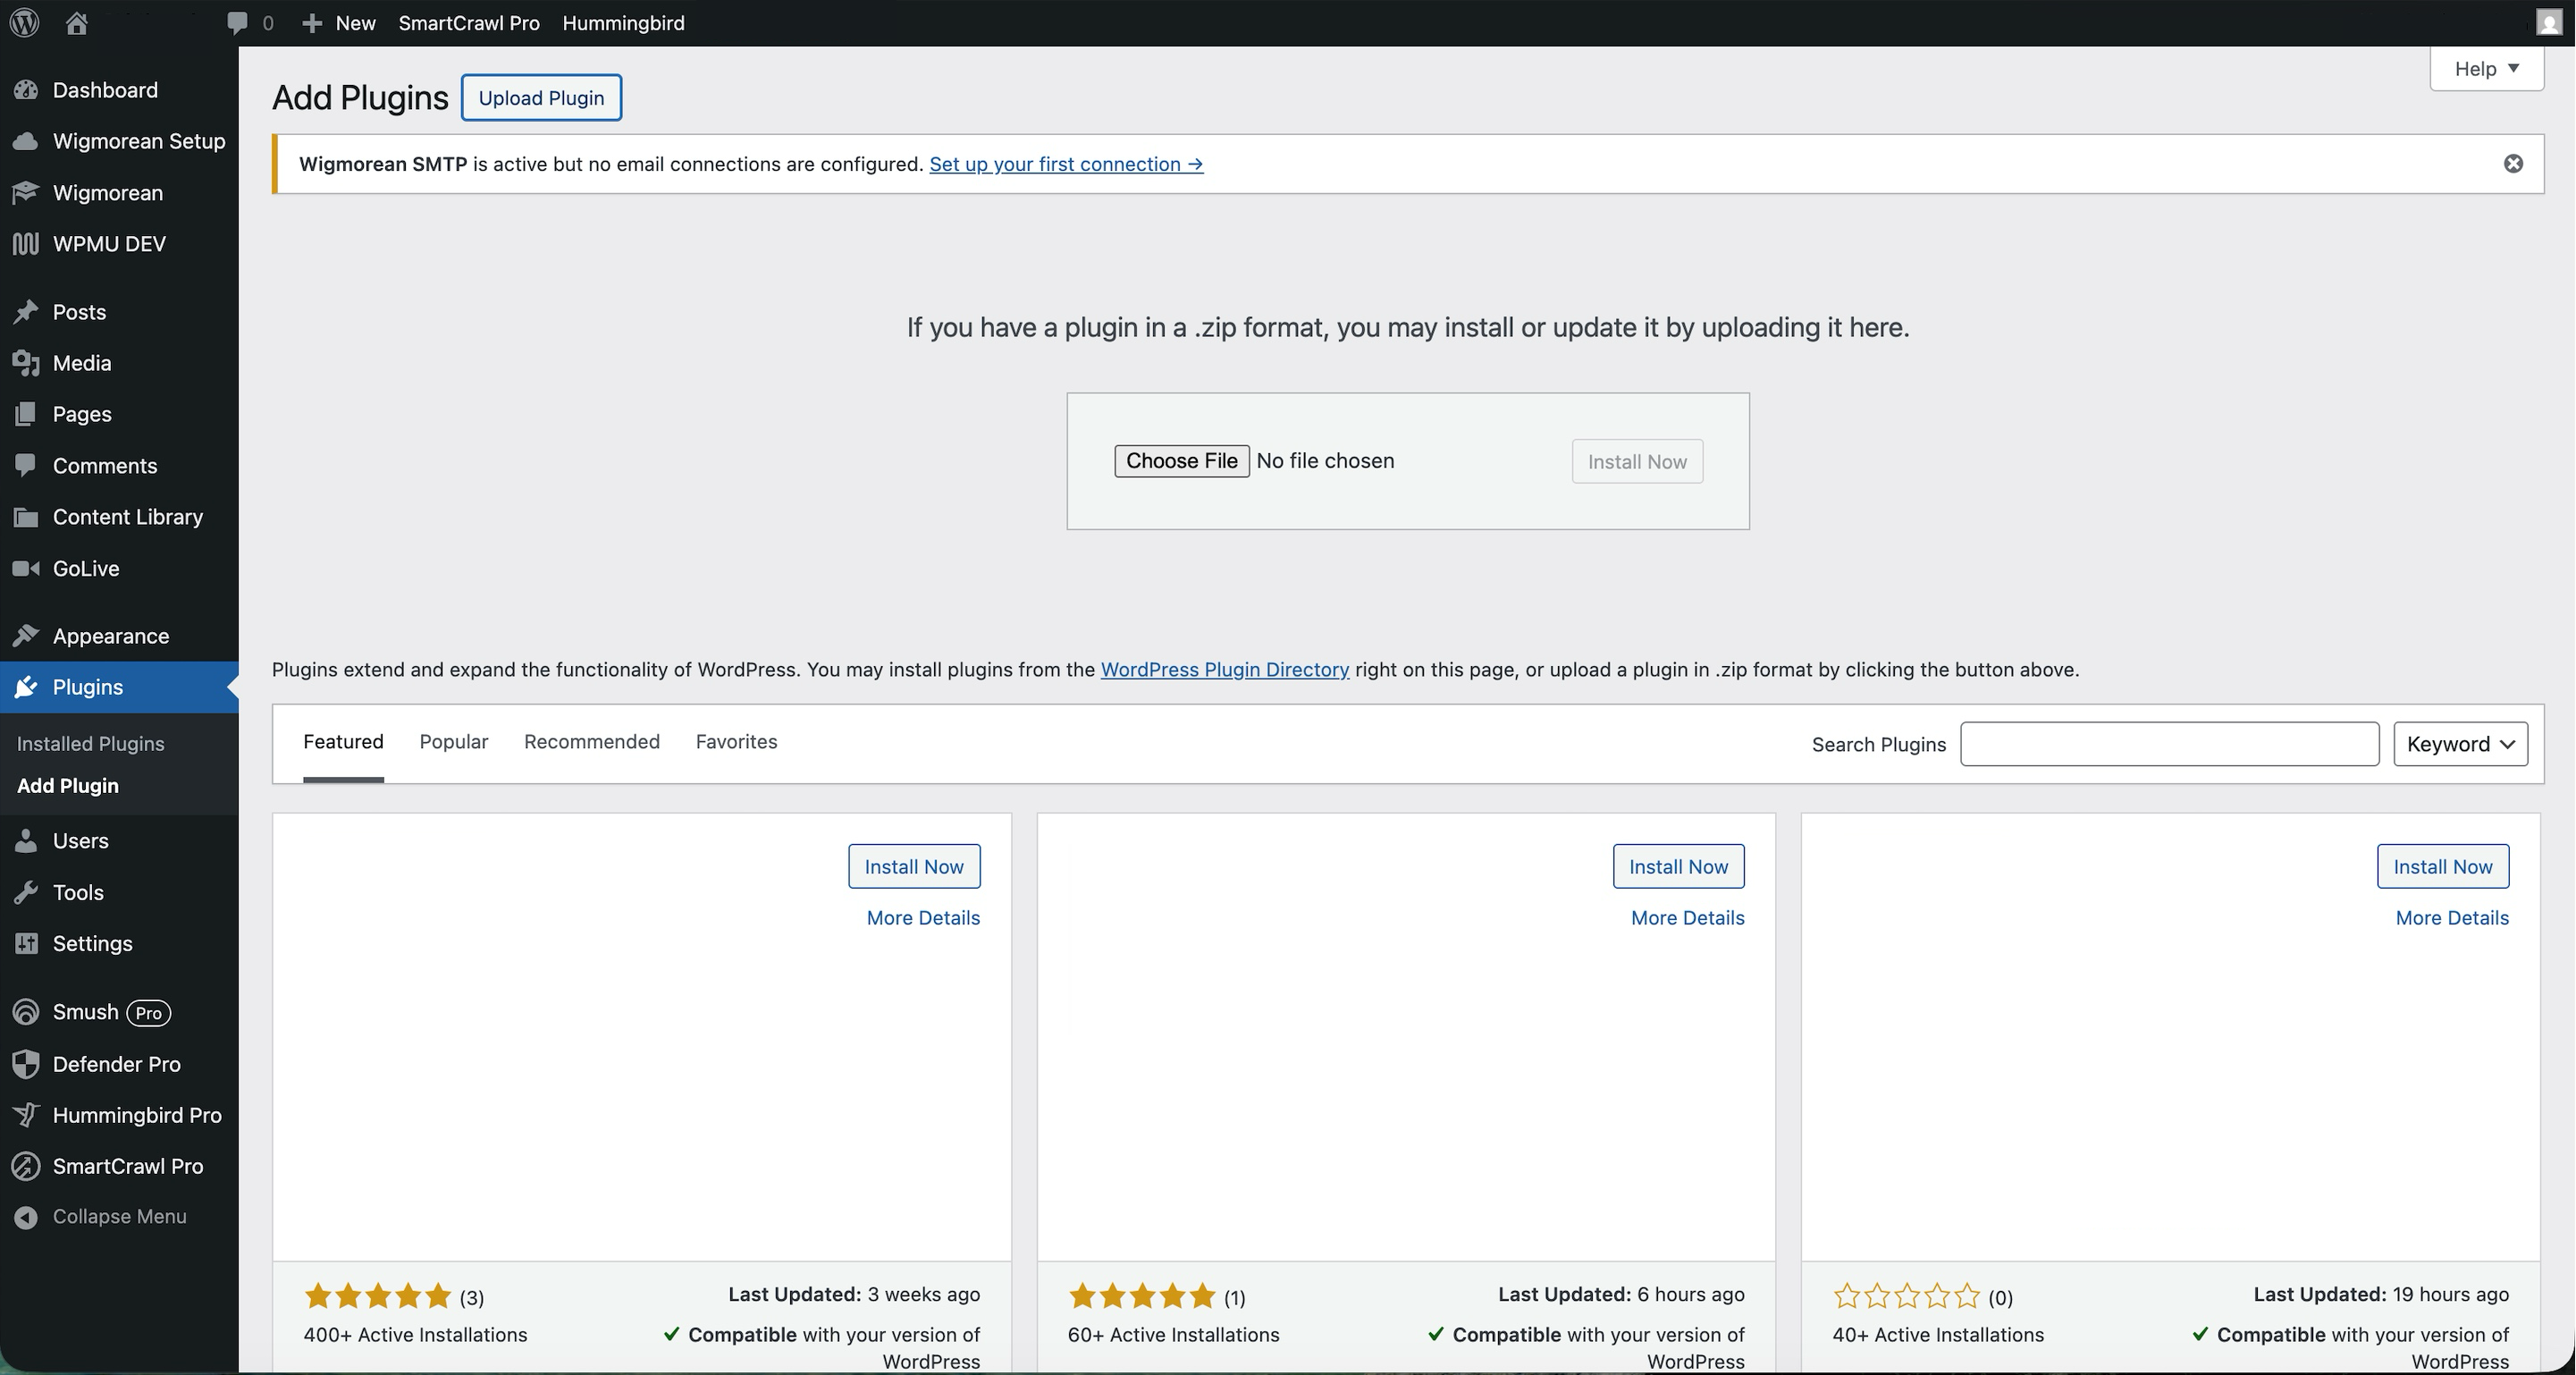
Open Wigmorean Setup in your WordPress admin
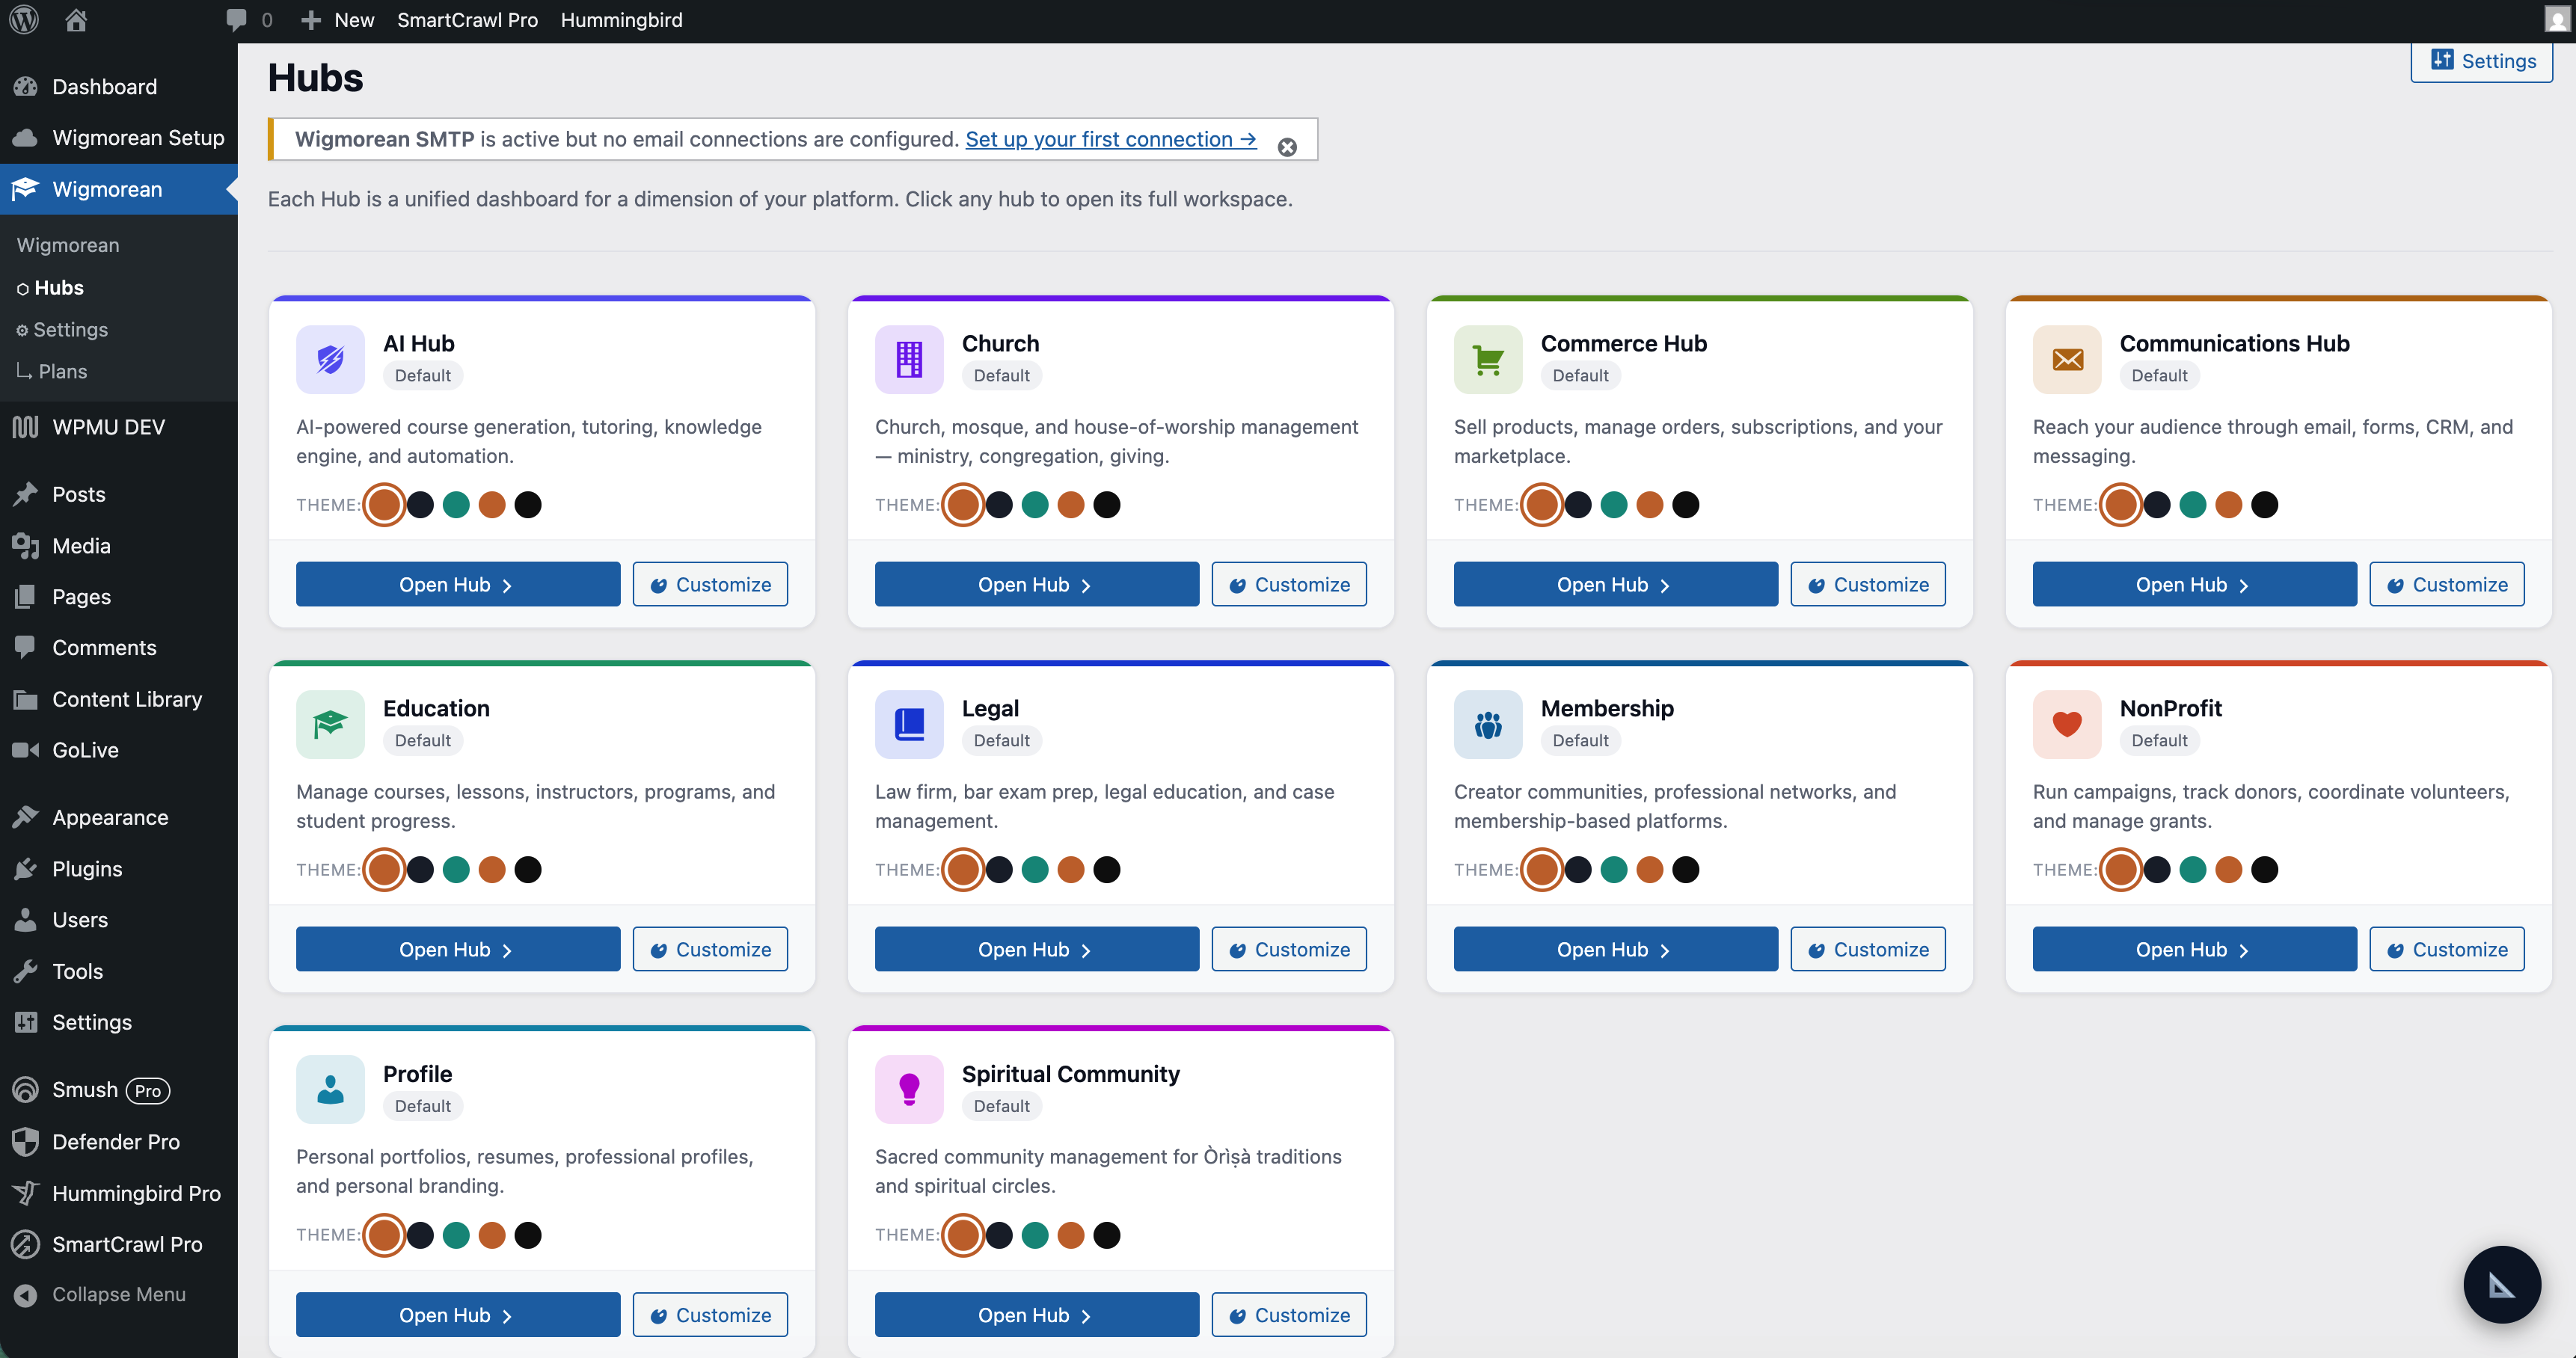
Once Wigmorean Connect is active, you'll see a new Wigmorean Setup item in your WordPress admin sidebar. Open it to begin activation.
Enter your license key
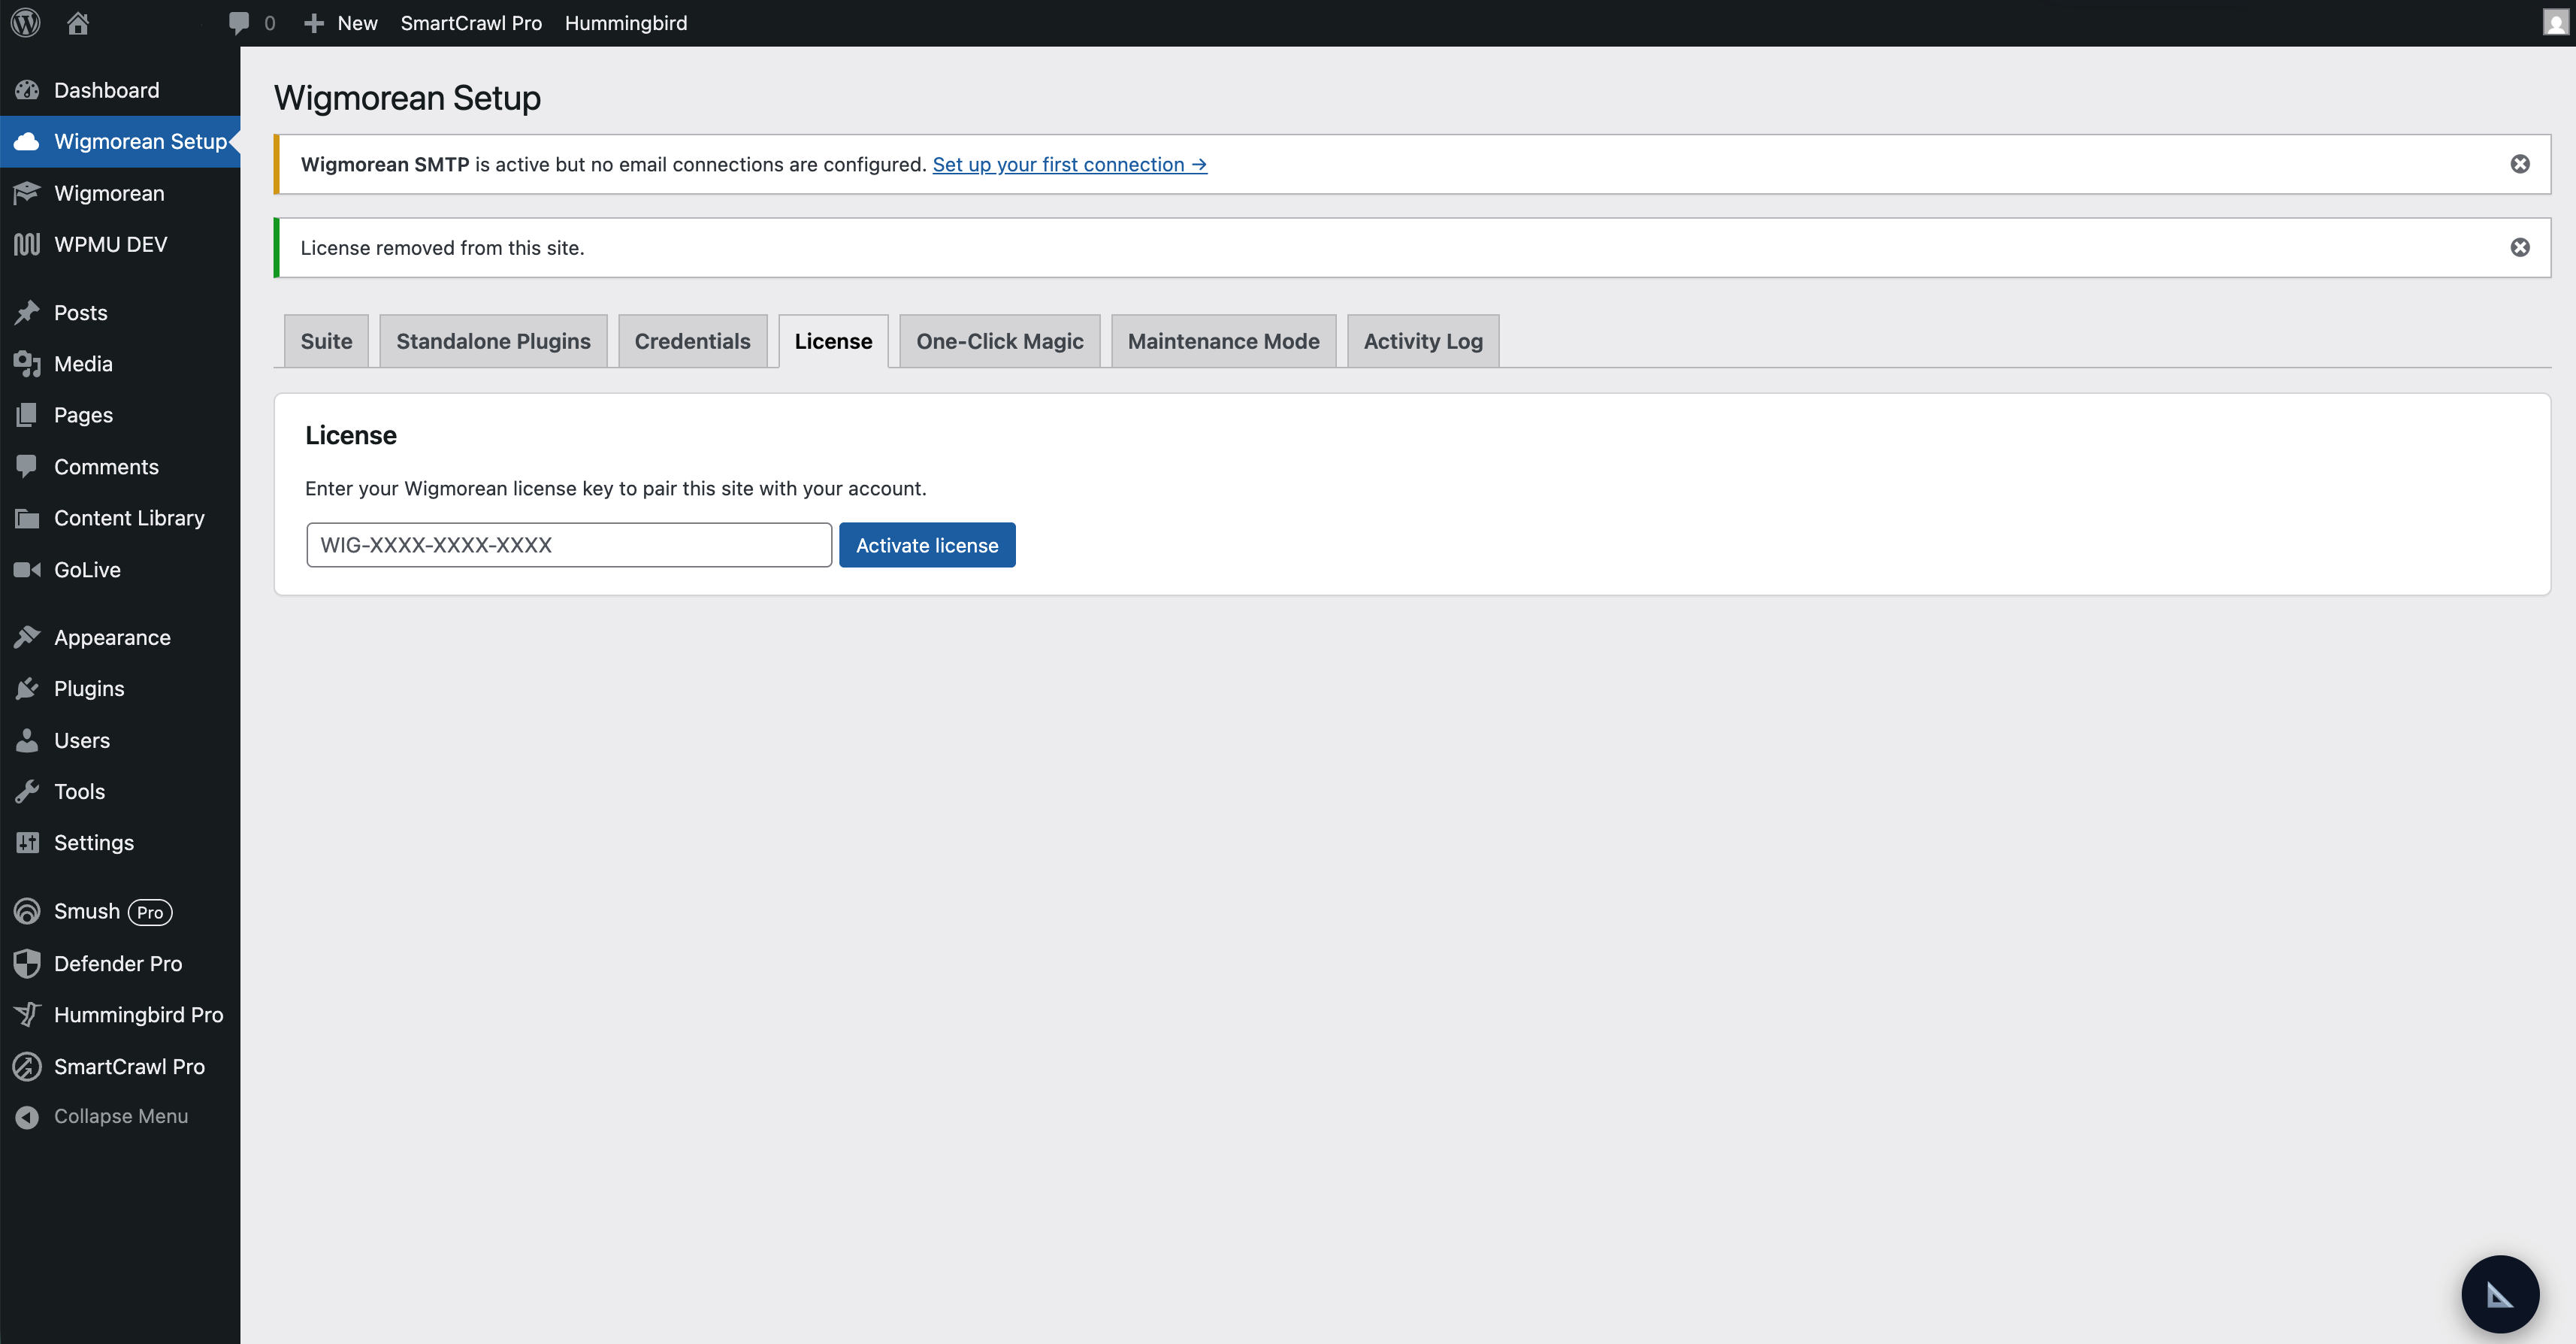
Paste the license key from your purchase confirmation email into the License field and click Activate. Wigmorean Connect will verify the key against wigmorean.com and unlock the products your tier entitles you to.
If you can't find the email, check your spam folder or write to sales@wigmorean.com.
Activate the products you need
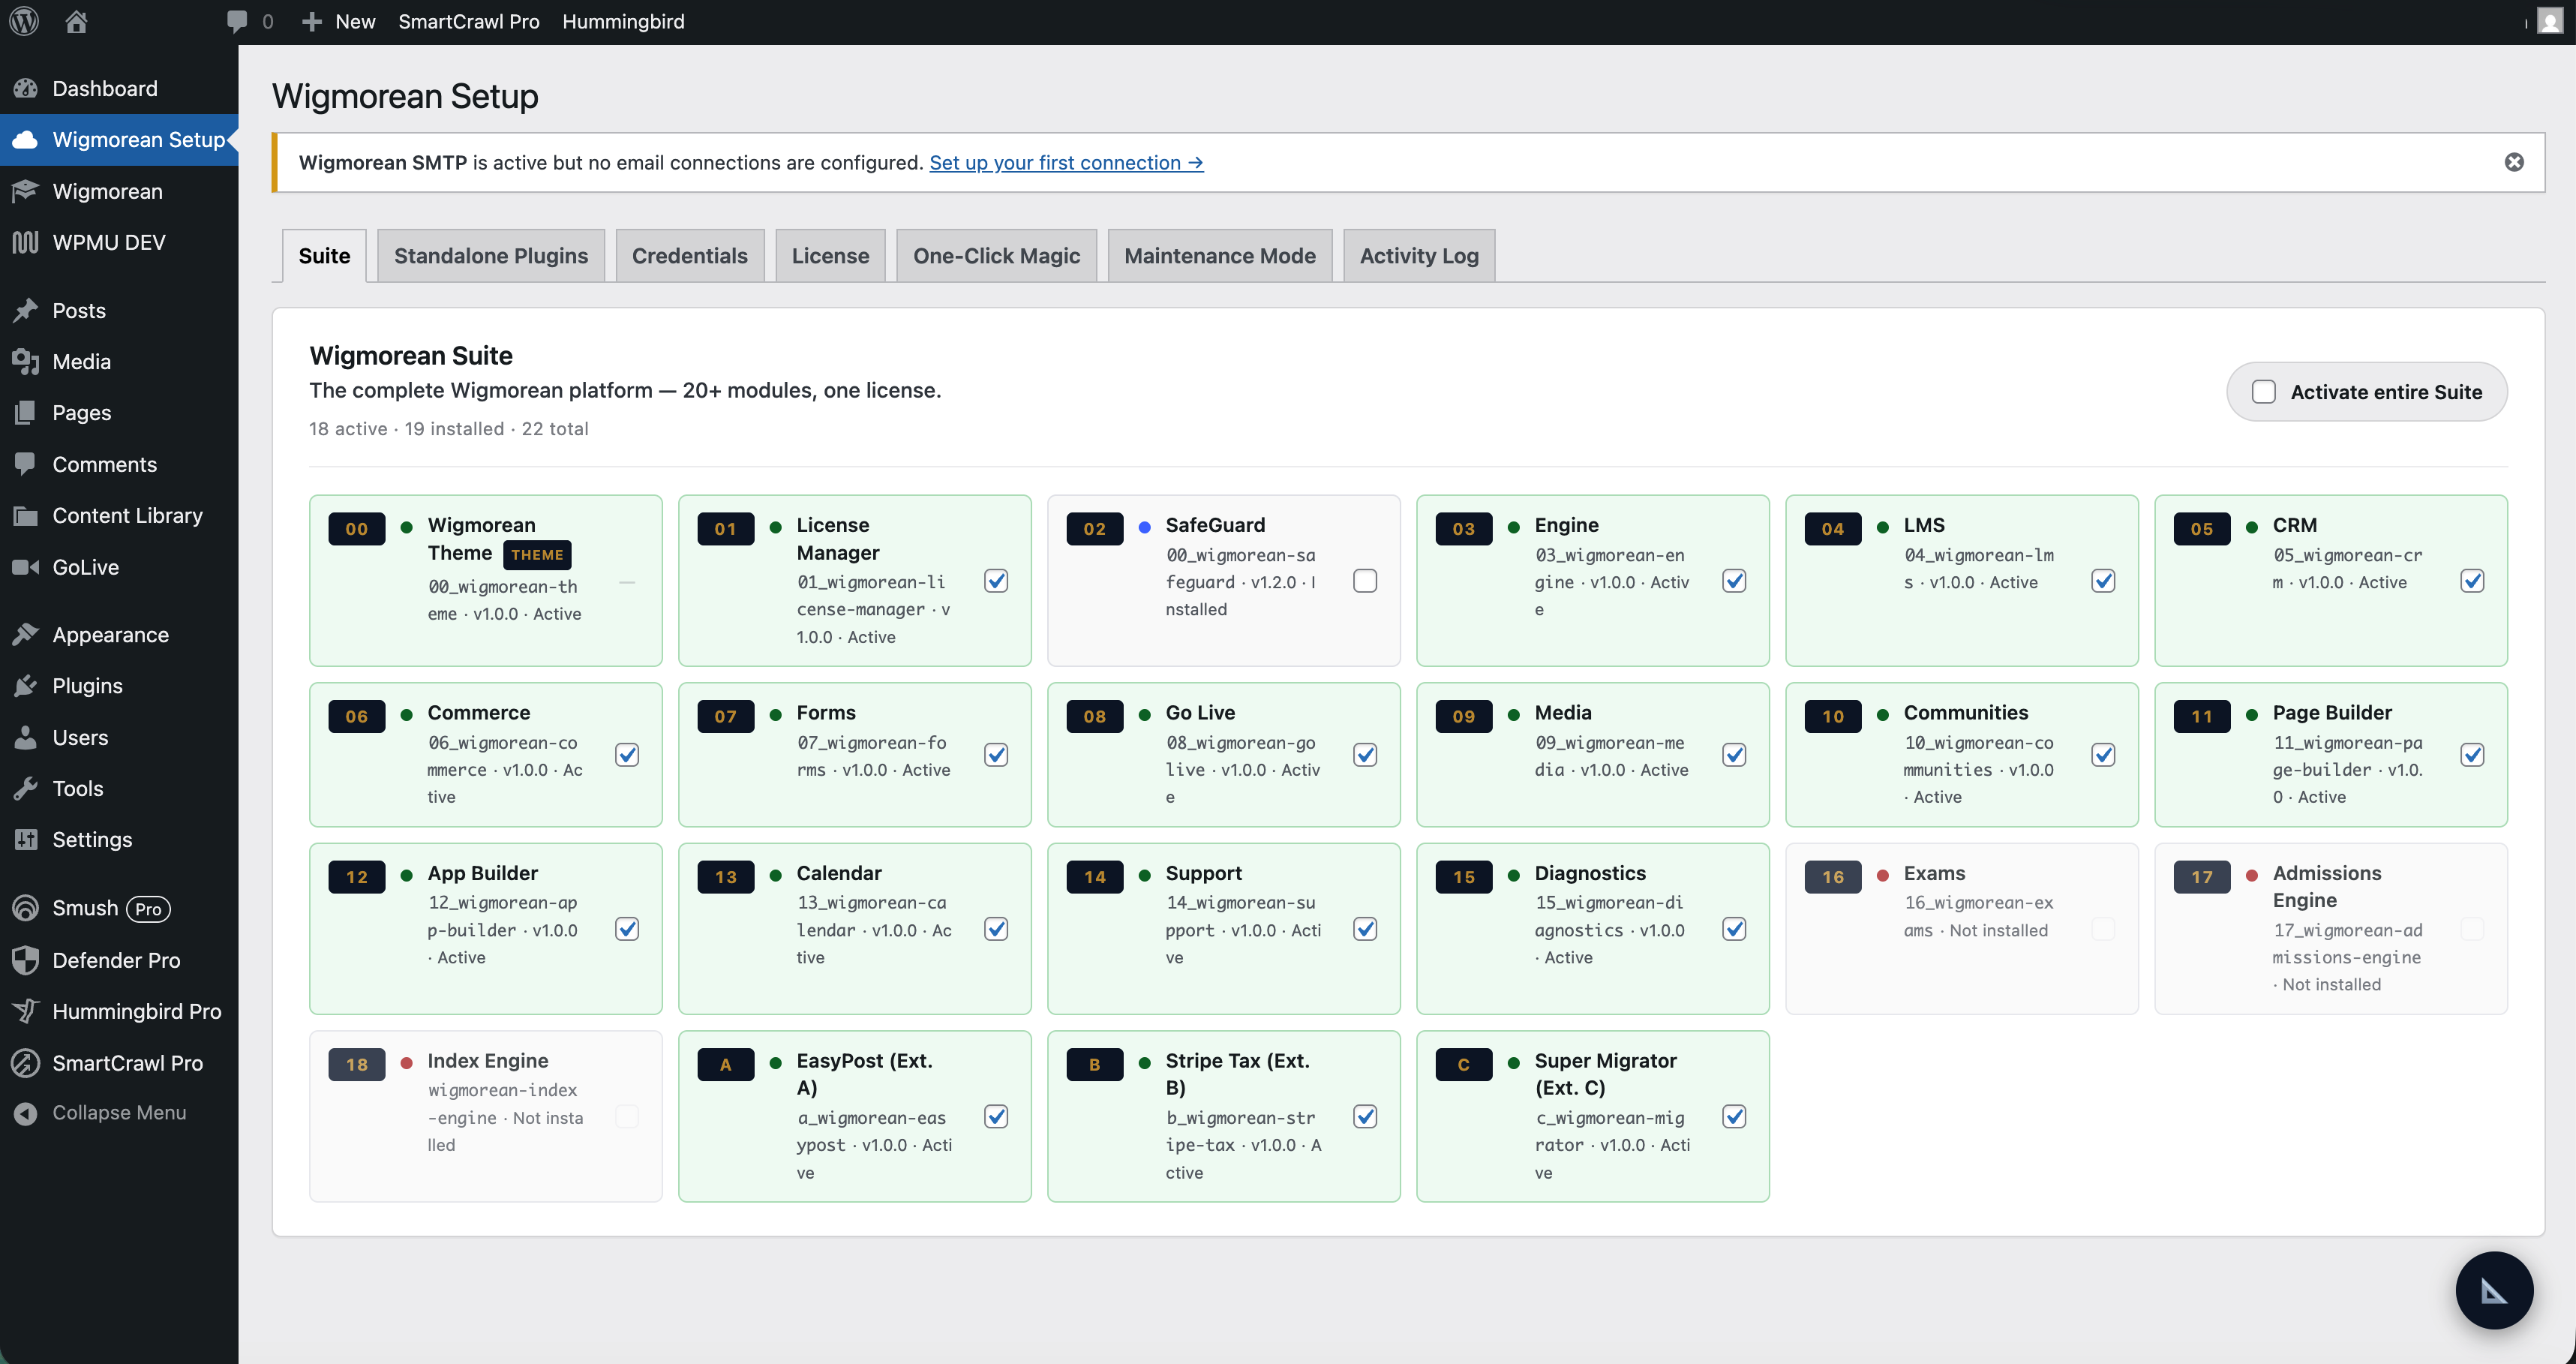
Open the Suite or Standalone Plugins tab in Wigmorean Setup and toggle on the products you want to use — LMS, Commerce, CRM, SMTP, Exams, and so on. Each product installs on demand; there's nothing to download separately.
You can turn products on and off at any time without losing data.
Need a hand?
We answer every email personally. Write to sales@wigmorean.com and we'll get you running.